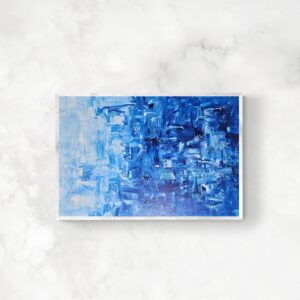
Oil painting has long captivated artists and enthusiasts with its rich colors, depth, and versatility.
Whether you’re a beginner or an experienced painter, exploring the world of oil painting can be an incredibly rewarding journey.
In this article, we will delve into the realm of oil painting, covering the basics for beginners, techniques for painting with oil paint, and dispelling common misconceptions.
We’ll also highlight the remarkable works of famous artists who have left an indelible mark on the history of oil painting.
Getting Started with Oil Painting
Beginners often find the prospect of using oil paint both exciting and intimidating. Here, we will guide you through the essential steps to get started:
As a beginner venturing into the world of oil painting, it’s essential to start with a solid foundation. In this section, we will explore the crucial aspects of getting started with oil painting, including the necessary materials, setting up your workspace, and understanding color mixing techniques.
Materials and Tools
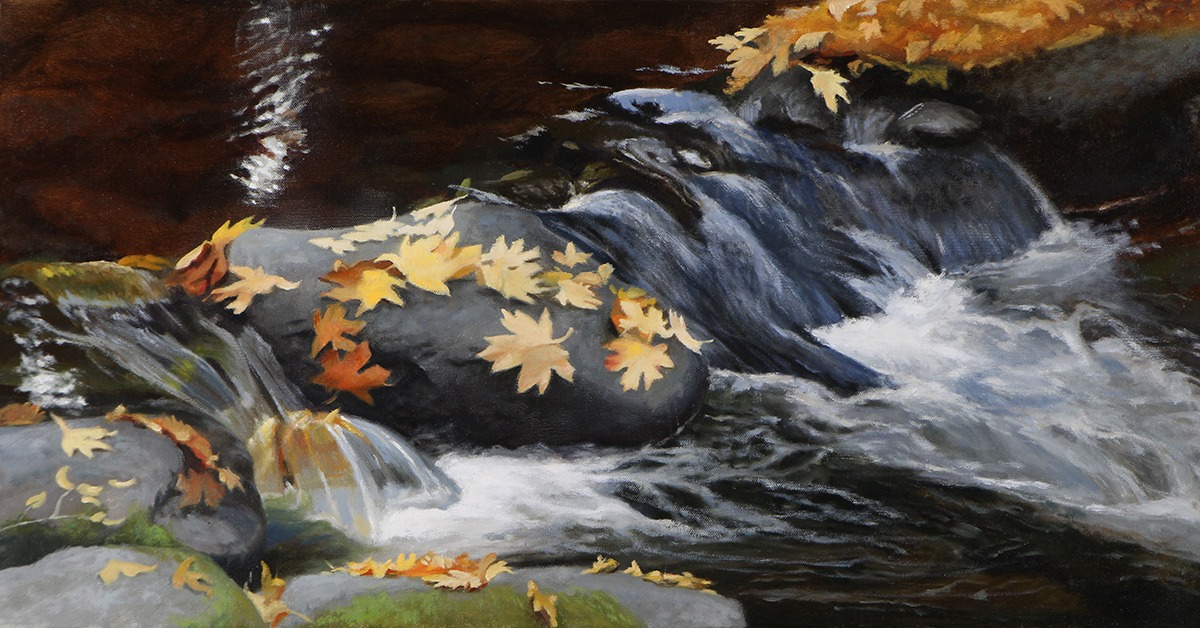
To begin your oil painting journey, you’ll need a few key materials and tools. These include high-quality oil paints, brushes of various sizes and shapes, a palette, palette knives, a canvas or painting surface, and a medium for thinning the paint.
To embark on your oil painting journey, you’ll need a few essential materials and tools. These include high-quality oil paints, brushes of various sizes and shapes, a palette, palette knives, a canvas or painting surface, and a medium for thinning the paint. Opt for professional-grade materials to ensure the longevity and quality of your artwork.
Investing in a range of brushes will allow you to experiment with different brush strokes and achieve a variety of effects. Natural bristle brushes are commonly used for oil painting due to their ability to hold and distribute the paint effectively. Synthetic brushes can also be suitable for specific techniques or detailed work.
A palette is where you’ll mix your colors, and a palette knife will come in handy for blending and manipulating the paint. Additionally, choose a canvas or painting surface that is primed for oil painting to ensure proper adhesion and longevity of your artwork.
Setting Up Your Workspace
Creating a suitable workspace is crucial for an enjoyable painting experience. Find a well-ventilated area with ample natural light, set up your easel or work table, and organize your materials for easy access.
Creating a conducive workspace is crucial for an enjoyable and productive oil painting experience. Find a well-ventilated area with ample natural light, as it will help you accurately perceive colors and details in your artwork. If natural light is limited, consider investing in a daylight lamp or other suitable lighting options.

Set up your easel or work table in a way that allows you to comfortably reach your canvas and work from different angles. Ensure that your materials and tools are easily accessible and well-organized, promoting a smooth workflow.
To protect your workspace from paint spills and splatters, cover the area with a drop cloth or protective sheet. Oil paint can be challenging to remove from surfaces, so taking precautions will save you from potential headaches.
Consider having a dedicated storage space for your paintings to dry. Remember that oil paint takes a longer time to dry compared to other mediums, so plan accordingly to avoid accidental smudging or damage to your work.
Understanding Color Mixing and Basic Techniques
Before diving into your first oil painting, familiarize yourself with color mixing techniques and basic brushwork. Understanding the color wheel, primary colors, and how to create secondary and tertiary colors will enhance your ability to achieve the desired hues.
Color mixing is a fundamental aspect of oil painting. Familiarize yourself with the color wheel, which illustrates the relationships between primary, secondary, and tertiary colors. This knowledge will allow you to create a vast range of hues and tones.
Start by working with a limited palette of primary colors: red, blue, and yellow, along with white and black. Experiment with mixing these colors in varying proportions to achieve different shades and intensities. Gradually expand your palette by adding additional colors that suit your artistic style and preferences.
When mixing colors, it’s important to use clean brushes or palette knives to avoid muddying the colors. Start with small amounts of paint and gradually add more as needed. Remember that oil paint is highly pigmented, so a little goes a long way.
To achieve smoother transitions between colors, you can use a medium such as linseed oil or a solvent like odorless mineral spirits to thin the paint. These mediums also help improve the flow and drying time of the paint, allowing for greater control and blending on the canvas.
Experiment with basic brushwork techniques, such as using the side of the brush for broader strokes and the tip for finer details. Explore techniques like glazing (layering transparent colors), scumbling (dry brushing to create texture), and impasto (applying thick, textured paint) to add depth and interest to your artwork.
By understanding the materials, setting up your workspace thoughtfully, and gaining knowledge of color mixing and basic techniques, you are well on your way to embarking on your oil painting journey with confidence and excitement. In the next section, we will explore advanced techniques and approaches to painting with oil paint.
Techniques and Approaches to Painting with Oil Paint
Mastering the techniques and approaches to painting with oil paint is key to achieving remarkable results. In this section, we will delve into brushwork and application techniques, exploring various brush strokes, creating texture, and building layers to add depth and dimension to your paintings. Additionally, we will discuss the art of blending and the creation of captivating textures that bring your artwork to life.
Now that you have a solid foundation in oil painting, let’s explore various techniques and approaches that will help you elevate your artwork to new heights. In this section, we will delve into brushwork and application techniques, layering and creating depth, as well as blending and texture creation.
Brushwork and Application Techniques
Brushwork plays a vital role in oil painting, allowing you to create different textures, effects, and expressive marks on the canvas. Experiment with various brush strokes to add visual interest and convey different moods in your artwork.
Broad and bold strokes can capture the essence of a subject quickly and create dynamic movement. Use a larger brush and apply confident strokes to block in shapes and establish the overall composition.
For finer details and precise work, switch to smaller brushes. These brushes offer better control and allow you to add intricate elements or subtle nuances to your paintings.
Explore different types of brushwork, such as stippling (creating texture using small dots), cross-hatching (overlapping lines for shading and texture), and dry brushing (using a partially loaded brush to create a broken texture). Each technique adds unique visual effects and textures to your artwork, enhancing its overall impact.
Building Layers and Creating Depth
One of the advantages of oil painting is the ability to work in layers, which adds depth and dimension to your artwork. Layering involves applying multiple thin or translucent layers of paint on top of each other.
Start with an underpainting, a monochromatic or limited color layer that establishes the basic values and composition of your painting. Once the underpainting is dry, gradually build up layers of colors, working from dark to light.
Using a technique called glazing, you can create translucent layers of color on top of dry layers. Glazes allow light to pass through the upper layers, interacting with the colors beneath and creating luminosity. Experiment with glazing to achieve rich, glowing effects in your artwork.
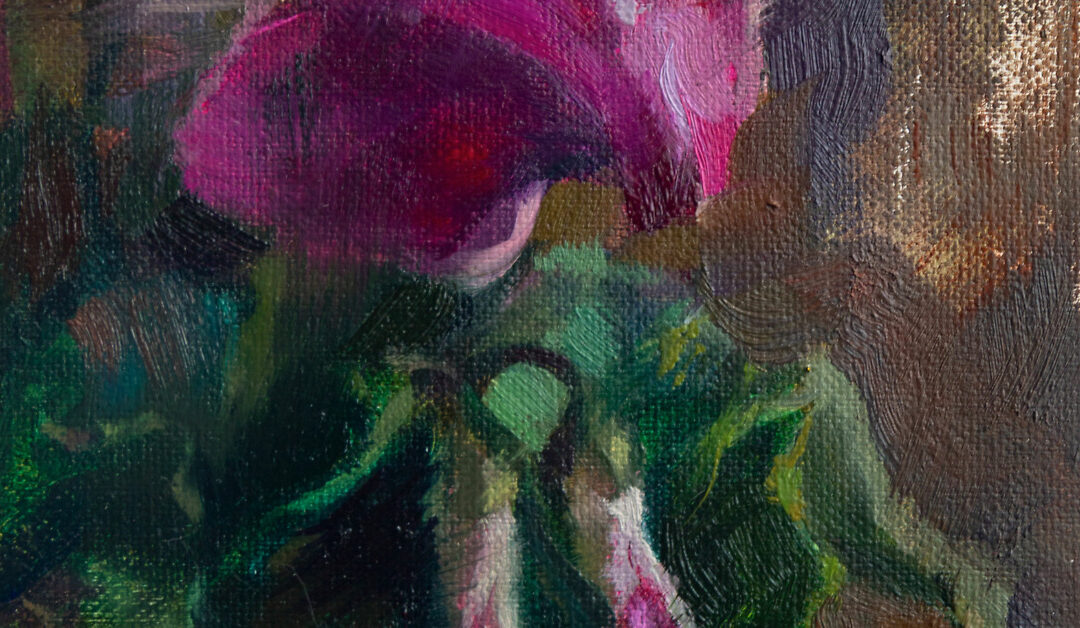
Another technique for building depth is through the use of impasto. Impasto involves applying thick, textured paint to the canvas. It adds physicality and dimension to your painting, creating tactile surfaces that engage the viewer’s senses. Use palette knives or stiff brushes to apply impasto, and explore different textural effects to enhance specific elements or create focal points.
Blending and Texture Creation
Mastering the art of blending is crucial in oil painting. Blending allows you to achieve smooth transitions between colors, soft edges, and subtle gradations. Use soft brushes or blending brushes to gently blend adjacent colors, working with small, circular motions.
Texture creation is another exciting aspect of oil painting. Experiment with techniques like scumbling, where you apply a dry brush with a small amount of paint over a dry layer to create texture and visual interest. You can also use a palette knife to scrape or drag paint across the canvas, creating unique textures and patterns.
By exploring different brushwork techniques, layering for depth, and mastering blending and texture creation, you’ll develop a diverse range of skills to infuse your artwork with character and visual impact. In the next section, we will debunk common misconceptions about using oil paint, providing clarity on some frequently asked questions.
Debunking Common Misconceptions
As you delve deeper into the world of oil painting, you may come across various myths and misconceptions that can hinder your progress or lead to confusion. In this section, we will address two commonly asked questions: “Do you wet the brush before using oil paint?” and “Do you need to mix water with oil paint?” By dispelling these misconceptions, you will gain a clearer understanding of the correct practices and techniques in oil painting.

Wetting the Brush Before Using Oil Paint
Contrary to popular belief, wetting your brush with water before using oil paint is not necessary and can even be detrimental to your painting process. Oil paint is inherently resistant to water, and adding water to the mix can affect the paint’s consistency and overall quality.
Instead of using water, consider using oil-based mediums or solvents to manipulate the consistency of the paint. These mediums, such as linseed oil or odorless mineral spirits, can be added to the paint to thin it out, enhance its flow, or create specific effects.
Using water with oil paint can result in a weak paint film and cause the colors to appear dull or lose their vibrancy. Additionally, water can cause the paint to bead up or separate, leading to an uneven application on the canvas. It is best to stick to oil-based mediums and solvents specifically designed for use with oil paint.
Mixing Water with Oil Paint
Another common misconception is the need to mix water with oil paint for thinning or diluting purposes. Unlike watercolor or acrylic paints, oil paints are not water-soluble. They are composed of pigments suspended in oil, typically linseed oil, which serves as the binder.
Instead of water, use oil mediums or solvents to alter the consistency of your oil paint. These mediums not only thin the paint but also help improve its flow and drying time. Each medium has its own characteristics, so experiment with different options to find the one that suits your desired effects and techniques.
Adding water to oil paint can result in poor adhesion, weak paint films, and compromised longevity of your artwork. Water can also affect the drying time and cause the paint to crack or peel over time. Therefore, it is crucial to avoid mixing water with oil paint and opt for appropriate oil-based mediums or solvents.
By understanding these misconceptions and adopting the correct practices, you can ensure the integrity of your oil paintings and achieve optimal results in your artistic endeavors.
In the next section, we will draw inspiration from renowned oil painters, exploring the techniques and styles of influential artists whose works continue to inspire and captivate art enthusiasts worldwide.
Inspiration from Renowned Oil Painters
Drawing inspiration from the works of famous artists can be a valuable source of insight and motivation in your oil painting journey. In this section, we will explore the techniques and styles of several renowned oil painters whose contributions have left an indelible mark on the art world.
Vincent van Gogh: Expressive Brushwork and Vibrant Colors
Vincent van Gogh is celebrated for his expressive brushwork and vibrant use of color. His distinctive style, characterized by bold, swirling brushstrokes and intense hues, continues to captivate art enthusiasts to this day. Take inspiration from van Gogh’s expressive technique by using bold brushwork and incorporating vibrant, contrasting colors to infuse energy and emotion into your paintings.

Claude Monet: Capturing the Play of Light and Color
Claude Monet, a prominent figure in the Impressionist movement, focused on capturing the fleeting effects of light and color in his paintings. His emphasis on atmospheric conditions and the changing nuances of nature revolutionized the art world. Emulate Monet’s approach by observing and portraying the subtle shifts in light and color in your own compositions. Use loose brushwork and delicate layering techniques to create luminous and ethereal landscapes.
Rembrandt van Rijn: Mastery of Chiaroscuro and Dramatic Portraiture
Rembrandt van Rijn, a master of chiaroscuro, excelled in capturing the interplay of light and shadow in his paintings. His skillful use of dramatic lighting and meticulous attention to detail brought his portraits to life. Study Rembrandt’s works to understand the art of creating depth and dimension through contrast. Experiment with strong contrasts between light and shadow to evoke a sense of drama and intrigue in your own portraiture.
Georgia O’Keeffe: Abstracted Landscapes and Bold Forms
Georgia O’Keeffe, known for her abstracted landscapes and bold, simplified forms, offered a unique perspective on the natural world. Her paintings often showcased close-up views of flowers and natural elements, transforming them into larger-than-life representations. Explore O’Keeffe’s approach by focusing on the essence of your subject and experimenting with abstraction and simplification. Use strong lines and shapes to convey the inherent beauty and power of the objects you choose to depict.
Salvador Dalí: Surrealism and Dreamlike Imagery
Salvador Dalí’s surrealistic works challenged traditional notions of reality and embraced the power of the subconscious mind. His dreamlike imagery and unconventional compositions continue to inspire artists across various mediums. Take inspiration from Dalí’s surrealistic approach by exploring unconventional perspectives, unexpected juxtapositions, and imaginative elements in your oil paintings. Push the boundaries of reality and allow your creativity to roam freely.
By studying the techniques and styles of these renowned artists, you can expand your artistic repertoire and develop your unique voice as an oil painter. Remember to embrace experimentation, adapt their approaches to suit your own artistic vision, and continue to explore and evolve as an artist.
Congratulations! You have reached the end of this comprehensive guide to oil painting for beginners.
Throughout this article, we have explored the fundamental aspects of using oil paint, provided insights into techniques and approaches, debunked common misconceptions, and drawn inspiration from renowned artists.
Oil painting is a beautiful and versatile medium that offers endless possibilities for artistic expression. Whether you are a beginner or an aspiring artist, the key to mastering oil painting lies in practice, experimentation, and a willingness to push your creative boundaries.
Remember to start with the basics, understanding the materials and setting up your workspace.
As you gain confidence, venture into advanced techniques such as brushwork, layering, blending, and texture creation. By dispelling misconceptions about wetting brushes and mixing water with oil paint, you can ensure the integrity of your artwork.
Lastly, draw inspiration from the techniques and styles of renowned artists like Vincent van Gogh, Claude Monet, Rembrandt van Rijn, Georgia O’Keeffe, and Salvador Dalí. Study their works, adapt their approaches, and develop your unique artistic voice.
Now, armed with knowledge and inspiration, it’s time to pick up your brushes, squeeze out vibrant hues onto your palette, and let your imagination flow onto the canvas. Embrace the journey of oil painting with enthusiasm, perseverance, and a sense of adventure. Happy painting!

